
Learning how to add a new camera in Milestone software is becoming very important. As more and more people are becoming concerned about their home and business security, Milestone Systems has risen in the ranks for people who want the best security system.
Milestone Systems is a leading provider of video management software (VMS). Organizations of all sizes use Milestone XProtect as their flagship VMS product to monitor and record video from a wide range of cameras. How to add a new camera becomes an easy question to answer.
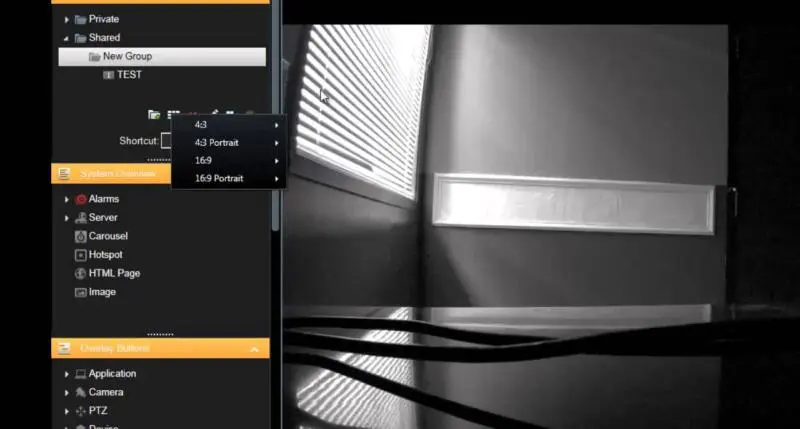
Adding a new camera to Milestone XProtect is a relatively straightforward process. However, you need to take a few steps to ensure that you add the camera correctly and enable it to stream video to the VMS.
How To Add a New Camera in Milestone Software – Prerequisites
Before adding a new camera to Milestone XProtect, ensure that you meet the following prerequisites:
- The camera is compatible with Milestone XProtect. You can check the Milestone compatibility list to make sure that your camera is supported.
- The camera is connected to the same network as the Milestone XProtect recording server.
- The camera is configured with the correct IP address and port settings. You can consult the camera’s documentation for more information on how to configure these settings.
How To Add a New Camera in Milestone Software – Instructions
To add a new camera to Milestone XProtect, follow these steps:
- Open the Milestone XProtect Management Client.
- Expand the Servers node in the navigation pane and select the recording server to which you want to add the camera to.
- Right-click on the recording server and select Add Hardware.
- In the Add Hardware wizard, select the Express detection method and click Next.
- Milestone XProtect will scan the network for compatible cameras. Once the scan is complete, select the camera that you want to add and click Next.
- Milestone XProtect will automatically detect the camera’s model and IP address. If the camera has password protection, you must enter the password in the “Password” field.
- Click Finish to add the camera to Milestone XProtect.

How To Add a New Camera in Milestone Software – Testing the Camera
Once you have added the camera to Milestone XProtect, you need to test it to make sure that it is working properly. To do this, follow these steps:
- Open the Milestone XProtect Smart Client.
- Expand the Cameras node in the navigation pane and select the camera that you just added.
- In the Live View pane, you should see a live video stream from the camera.
- If you do not see a live video stream, check the following:
- Ensure that you power on and connect the camera to the network.
- Also, ensure that you configure the camera with the correct IP address and port settings.
- Make sure that the camera is compatible with Milestone XProtect.
- Once you have confirmed that the camera is working properly, you can start using it to monitor and record video.
Read more: Milestone VMS: A Comprehensive and Scalable Video Surveillance Solution
How To Add a New Camera in Milestone Software – Additional Tips
Here are a few additional tips for adding new cameras to Milestone XProtect:
- If you are adding multiple cameras to Milestone XProtect, you can use the Batch Add Cameras wizard to save time.
- You can also add cameras to Milestone XProtect using the Milestone XProtect API.
- If you are having trouble adding a camera to Milestone XProtect, you can contact Milestone support for assistance.
Additional Information
In addition to the basic steps outlined above, there are a few other things you may want to consider when adding a new camera to Milestone XProtect:
- Camera placement: Where you place the camera is important for ensuring that it has a good view of the area you want to monitor. Consider the following factors when choosing a location for your camera:
- Height: The camera should be mounted at a height that provides a good view of the area.
- Angle: The camera should be tilted and angled so that it has a clear view of the area.
- Lighting: The camera should be placed in an area with good lighting.
- Obstructions: Avoid placing the camera where it will be obstructed by objects such as trees, signs, or buildings.
- Recording settings: Milestone XProtect allows you to configure a variety of recording settings for your cameras. You can choose to record continuously, on motion, or on event. You can also configure the recording quality and resolution.
- Notifications: Milestone XProtect can notify you when certain events occur, such as detecting motion or when a camera goes offline. You can configure the type of notifications you want to receive and how you want to receive them (e.g., via email, text message, or push notification.
Conclusion
Adding a new camera to Milestone XProtect is a relatively straightforward process. However, ensuring that the camera is compatible with the VMS and configuring it correctly is important. By following the steps in this article, you can easily add new cameras to your Milestone XProtect system.


